

Mrs. Ahmed's 4th grade Class (above)
Andrea, Erica, no name and Dona
``````````````````````````````````````````````````````````````

Mrs. garcia's 4th grade (above)
Kayleigh and Austyn
Mrs. Thomas's 4th grade

Mrs. Thomas's class
Michelle, Rachel, Thomas, Adrian,
Maisy, Stacey, Caden & Kolby
````````````````````````````````````````````````````
Mrs. Rylander's 4th grade

Michael, Elloise,
Hailey & Kayla
-------------
Mrs. Meleski's 4th grade
Oil Pastel with Tempera Watercolor

Christian, Abby & Paola
(Above)

(Above)
-------
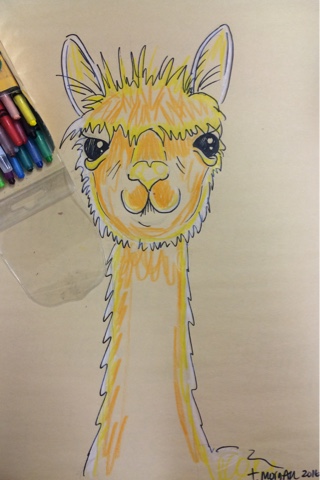
SKETCHING
First students will practice with drawing the shapes and details of the Alpaca's face.
When they are comfortable, we will move to the final paper.


DRAWING
Face can be drawn in upper half of paper to show off the long neck.


Start lightly with a pencil (always)

Then when it looks how you like it, go over with marker or make lines darker.
COLORING
Students will color alpaca using oil pastels or crayons. They need to use at least three colors blended on the entire alpaca.
I will show them three ideas from these sources...
I'm So Happy You Came
by Jeff Seaberg
Watching over the Flock
by Pat Saunders White
Alpaca Love
by Eli Halpin
The edges need to be colored the hardest (for later resist purposes).
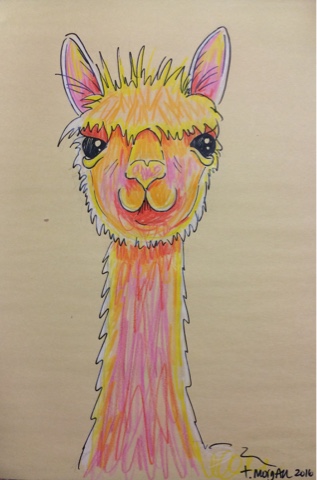
Students will be encouraged to color Alpaca in unnatural colors.
(Above crayons, below oil pastels)


 Texture, scribble, texture, scribble...
Mix, blend, mix, blend...
Mrs. Meleski's class
The Red table

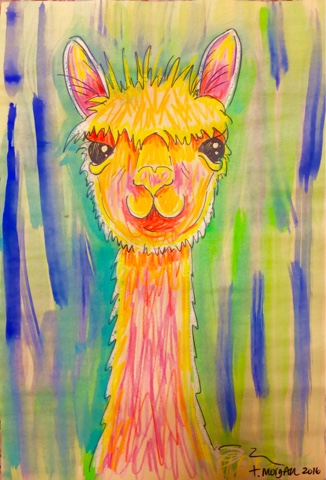
PAINTING
The background will be painted in colors or patterns that will help EPHASIZE the alpaca face.
Horizontal design in contrast to the vertical body or colors opposing the color wheel.


Students


